A great DTF print can still fail if the application is rushed. Knowing how to apply DTF transfers correctly means controlling three things: heat, pressure, and peel timing. Get those right, and you can produce bright, durable apparel for staff uniforms, school spirit wear, team gear, event shirts, and retail orders without the cracking, lifting, or dull finish that leads to reprints.
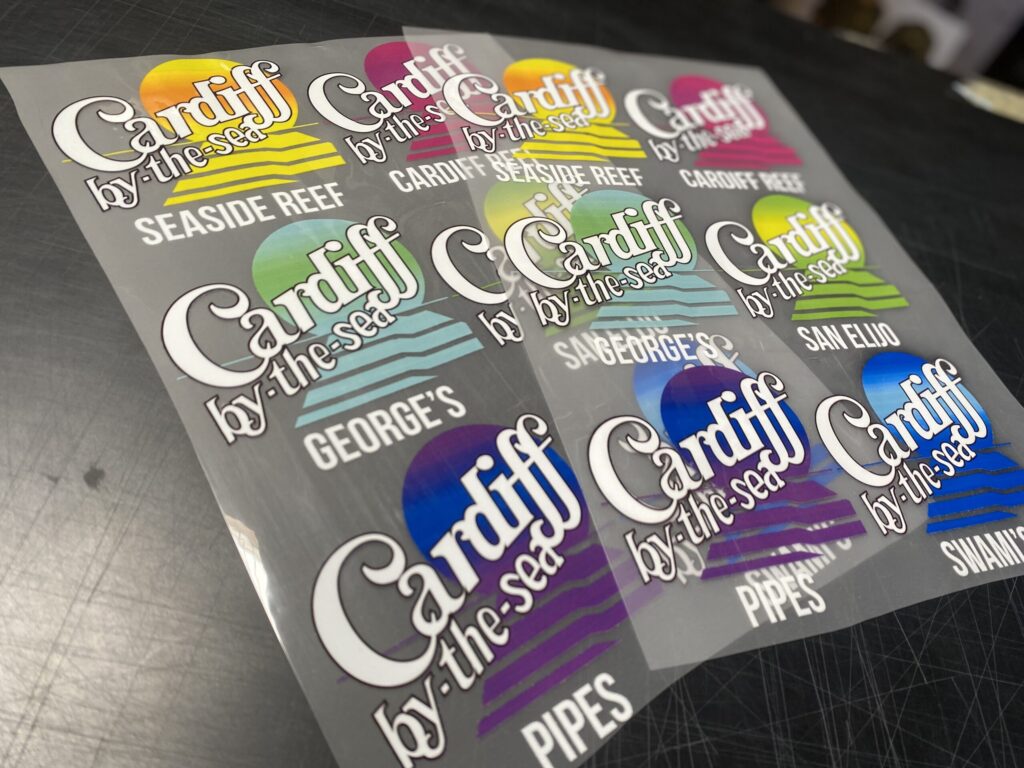
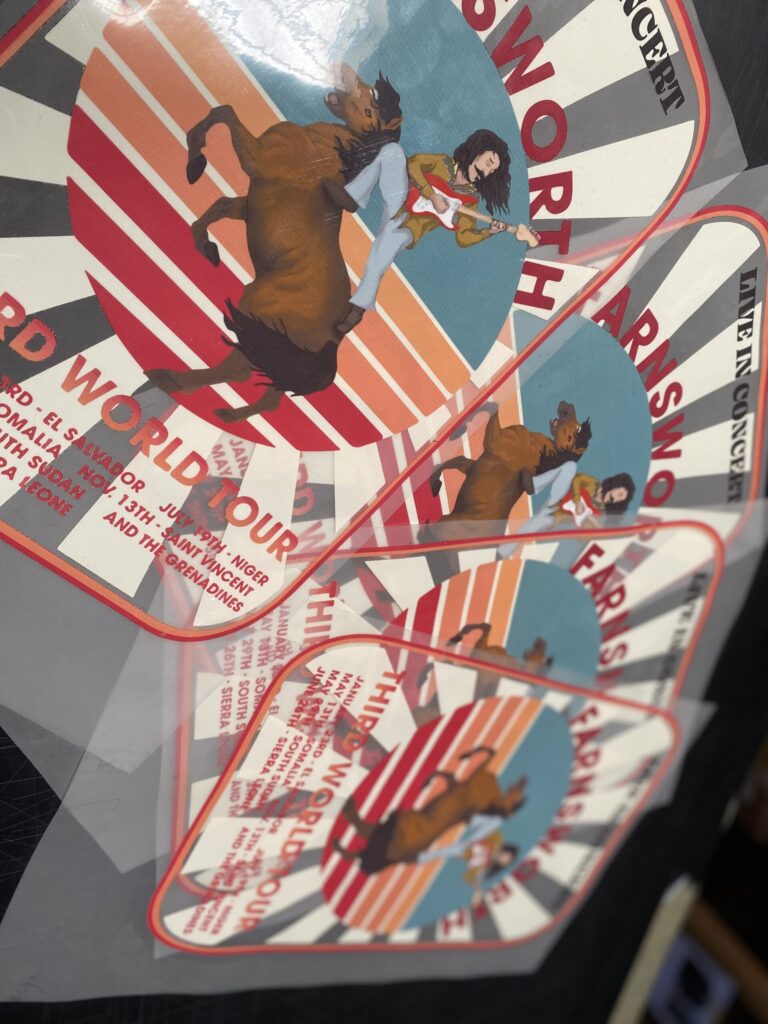
Direct-to-film transfers are flexible printed designs that adhere to fabric with a heat press. They work well on cotton, polyester, cotton blends, tri-blends, and many performance garments, which makes them a practical option when one design needs to run across different shirt styles. The process is straightforward, but it is not one-size-fits-all. Your transfer supplier’s instructions should always take priority over a general setting, especially for specialty films and fabrics.
What You Need Before Applying DTF Transfers
Start with a reliable heat press, not a household iron. An iron can create uneven heat and inconsistent pressure, leaving weak spots around the design. For consistent production results, use a press with an accurate platen, adjustable pressure, and enough surface area for the garment and transfer.
You will also need a clean garment, the DTF transfer, a heat-resistant cover sheet such as parchment paper or a nonstick finishing sheet, and a lint roller. A pressing pillow or print pad can help when seams, zippers, pockets, or thick collars prevent the garment from lying flat.
Before beginning a full order, check the garment label and identify the fiber content. Standard cotton tees are forgiving. Polyester and performance apparel require more attention because excessive heat can cause dye migration, shine, or scorching. When the order includes several garment brands or colors, test one item from each type before pressing the entire run.
How to Apply DTF Transfers Step by Step
1. Set the press for the transfer and garment
Many standard DTF transfers apply around 300°F to 320°F for 10 to 15 seconds with medium-to-firm pressure. That is a useful starting range, not a universal rule. Follow the specifications provided with your transfers first.
Pressure matters just as much as temperature. Too little pressure can leave edges unbonded even when the press is hot enough. Too much pressure can flatten the adhesive excessively, distort lightweight fabric, or leave a press-box mark on some garments. The correct setting is firm, even contact across the full design.
For polyester, especially light-colored athletic apparel, a lower-temperature transfer or a lower-temperature application process may be the safer choice. High heat can reactivate dyes in the garment and discolor lighter areas of the print. This is one of those cases where a quick test press protects the entire job.
2. Pre-press the garment
Place the garment on the lower platen and pre-press it for about 3 to 5 seconds. This removes moisture and smooths wrinkles so the transfer has a flat, dry surface.
Use a lint roller after pre-pressing, particularly on dark garments. Small fibers, pet hair, and loose threads can become visible under a full-color transfer. It takes only a few seconds and helps the finished print look intentional and clean.
3. Position the transfer carefully
Lay the garment flat and position the DTF transfer with the printed side facing the fabric and the carrier film facing up. Make sure the design is level before closing the press.
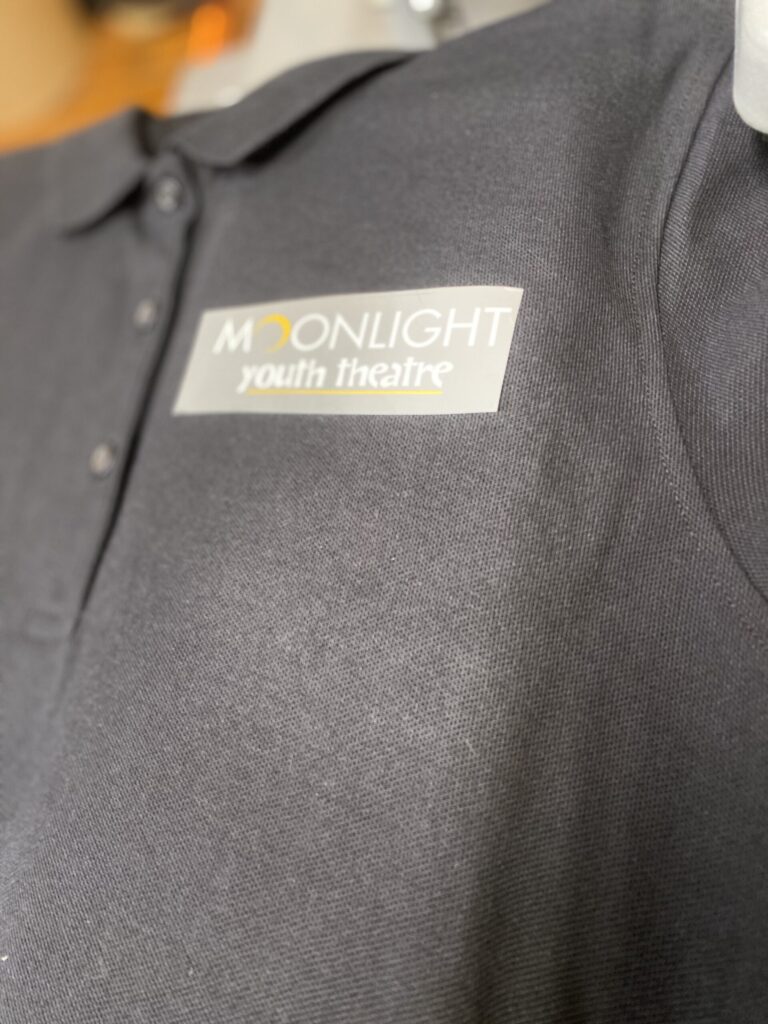
For a standard left-chest logo, placement is commonly a few inches down from the collar and slightly toward the wearer’s left side. Full-front designs are usually centered and placed below the collar, but the best placement depends on garment size, artwork shape, and the customer’s intended look. Youth shirts, V-necks, cropped garments, and hoodies all need adjusted placement. Measuring from the collar and checking the visual center is more reliable than using one fixed number for every garment.
Avoid pressing over seams, buttons, zippers, drawstrings, or thick pocket edges. If the platen cannot make even contact, the adhesive may not fully bond. Reposition the garment, use a pillow, or choose a location with a smooth pressing surface.
4. Press with steady, even pressure
Cover the transfer only if your transfer instructions call for it, then close the press for the recommended time. Do not repeatedly open the press to check progress. Heat presses work best when they maintain full contact for the complete dwell time.
A rushed press is a common source of later peeling. If you are producing shirts for a deadline, it can be tempting to speed up each cycle. That trade-off usually costs more time when garments must be reprinted. Set up an efficient workflow instead: pre-press several garments, stage transfers in order, and let each press cycle finish as specified.
5. Peel at the correct temperature
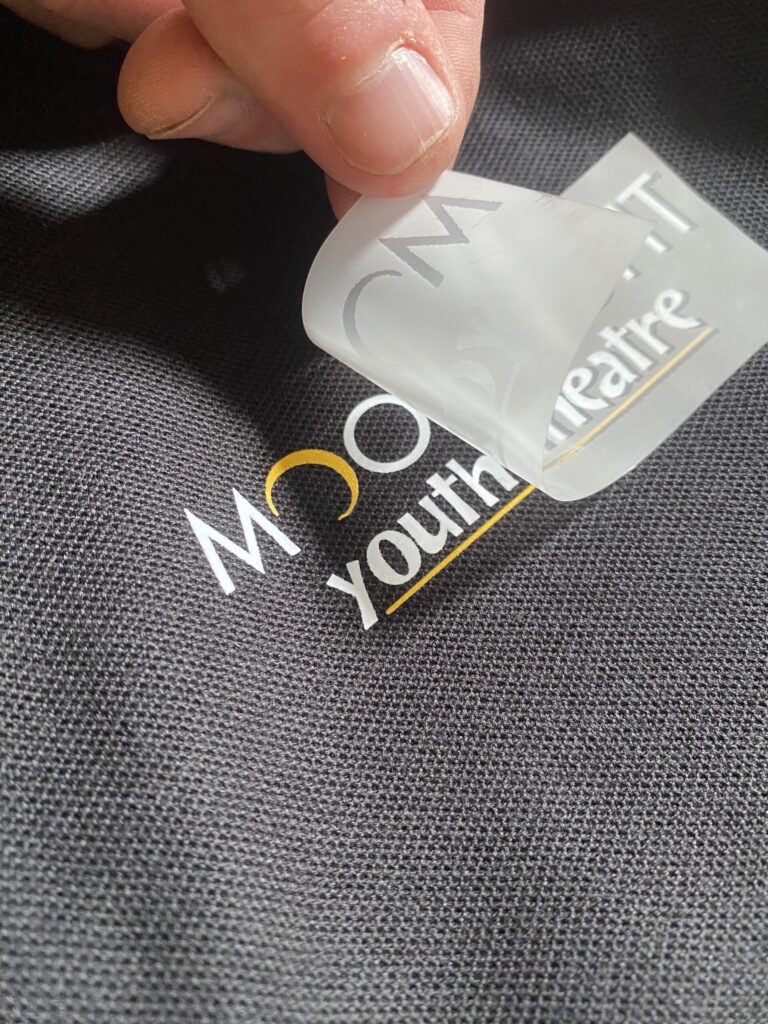
DTF transfers may be hot peel, warm peel, or cold peel. This detail is critical. Peel a hot-peel transfer immediately after opening the press. Let a warm-peel transfer cool briefly, then remove the film. A cold-peel transfer needs to cool completely before peeling.
Peel the carrier film in one smooth, controlled motion, keeping it low and close to the garment rather than pulling straight upward. If any part of the design starts lifting with the film, stop. Lay the film back down, press again for a few seconds, and reassess your pressure, temperature, and peel timing.
6. Finish press for durability
After removing the carrier film, cover the print with parchment paper or a nonstick sheet and press again for roughly 3 to 10 seconds, following the transfer instructions. This finish press helps set the print, improves its feel, and supports long-term wash durability.
The finished design should look fully bonded with clean edges and a consistent surface. It may have a soft matte or slightly textured finish depending on the transfer film and artwork. Do not judge success by feel alone. Check the edge details, fine lines, and small lettering before moving the garment to packing.
Common DTF Application Problems and What Causes Them
When a transfer does not perform as expected, the cause is usually visible in the result. A quick quality check can prevent the same issue from repeating across a full batch.
- Edges lift during the peel: The press may need more pressure, more time, or a slightly higher temperature. Peeling at the wrong stage can cause the same problem.
- The design looks faded or uneven: The platen may not be heating evenly, or the garment was not pressed on a flat surface. Check your press temperature with a heat test strip or thermometer if inconsistent results continue.
- Polyester shows discoloration around the print: Reduce heat when the transfer allows it, shorten the press time if appropriate, and test the garment before production. Dye migration is more likely with certain polyester colors and fabrics.
- The print cracks or peels after washing: The adhesive may not have fully bonded, the finish press may have been skipped, or the customer may be washing the garment too aggressively.
Keep a simple record of successful settings for recurring jobs. Note the garment brand, fabric composition, transfer type, temperature, time, pressure, and peel method. This creates a repeatable production standard for school orders, employee apparel programs, and team uniforms that need to be reordered later.
Care Instructions for DTF-Printed Apparel
Proper application does most of the durability work, but care instructions still matter. Ask customers to turn garments inside out before washing, use cold or warm water, and avoid harsh bleach. Tumble dry on low heat or hang dry when possible.
They should not iron directly on the printed design. If ironing is necessary, turn the garment inside out or place a cover sheet between the iron and the print. Clear care guidance is especially useful for booster-club apparel, event merchandise, and workwear, where garments may be washed often.
A Better Process for Larger Apparel Orders
For one shirt, careful placement is enough. For 50 staff polos or several hundred spirit shirts, consistency needs a system. Organize garments by size and color, confirm artwork and placement before production starts, and run an approved sample before pressing the full order. Keep the work area clean and separate completed garments from unpressed blanks.
If you are applying transfers for a business, school, or team order, build extra time into the schedule for testing and quality control. A dependable print result comes from repeatable settings, not guesswork. Alchemy Print Co. can help customers who need quality DTF transfers and practical production support for projects that need to look right the first time.
The best final check is simple: inspect every finished print before it is folded, bagged, or handed off. A few focused seconds at the press can protect the quality of an entire order and give the wearer a shirt that holds up well beyond the event date.